Assignment Detail (New)
 Updated
by
Arianne G.
Updated
by
Arianne G.
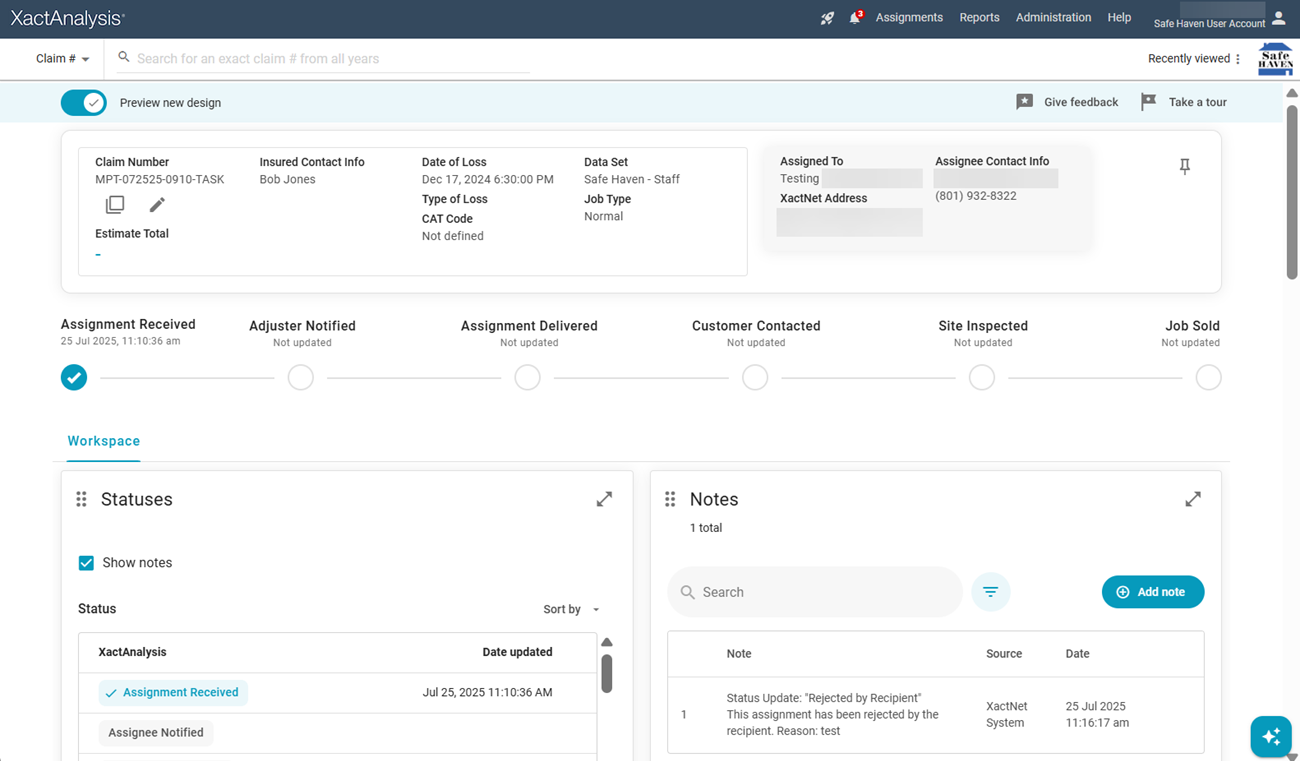
The Assignment Detail page is a record of an assignment and the work done to accomplish it. From here, you can easily find the claim number, estimate total, contact information, type of loss, coverage details, notes or comments, current statuses, and more.
Right now, you can view an assignment summary, add notes and photos to an assignment, edit statuses, and manage documents. As we continue to add both new features and features from the previous Assignment Detail, we would love your feedback on the direction of this page and the features you would like to see added.
Why are we making this change?
Assignment Detail is the heart of XactAnalysis, so we know that changing anything here will affect how you work, and we do not want to make your day harder in any way. We also know that the previous version of Assignment Detail wasn't very user-friendly (for example, users had to click and scroll a lot to find what they needed). Our intention, in addition to modernizing the underlying technology of the page, is to put the information and features that you use the most front and center for easy access.
Since this is such an important feature, we're not rushing to release it. We'll add features to the page as we go and ask you to try it out and tell us how you like it. Make sure to come back often to see what's new and give us your feedback.
When we're sure that the page has everything you need (including everything from the old Assignment Detail and more), we’ll start a gradual transition from the old version to the new one. We have not set a cutover date yet, but we plan to add new features each release for the next few years.
Access the new design
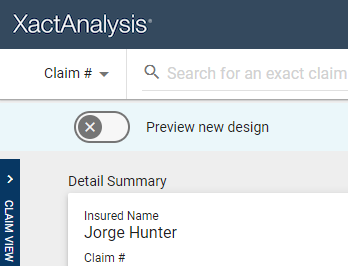
To access the new version of Assignment Detail, click the Preview new design toggle in the upper-left corner of the Assignment Detail page. The banner with the toggle is persistent on both the old and new versions of the Assignment Detail page, so you can easily switch between them.
Detail Summary
The Detail Summary is now divided into two sections: information about the claim and information about the current assignee.

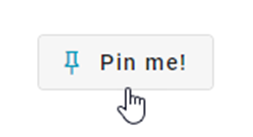
Click Pin me! to keep this section visible when you scroll down.
Click the Copy  icon below the claim number to quickly copy the claim number.
If enabled for your user and account, you can quickly edit the claim number by clicking the Edit icon.
Status tracker
The status tracker allows you to immediately see where the assignment is in your workflow. When a status is updated, both the date and the icon change to reflect the new update.

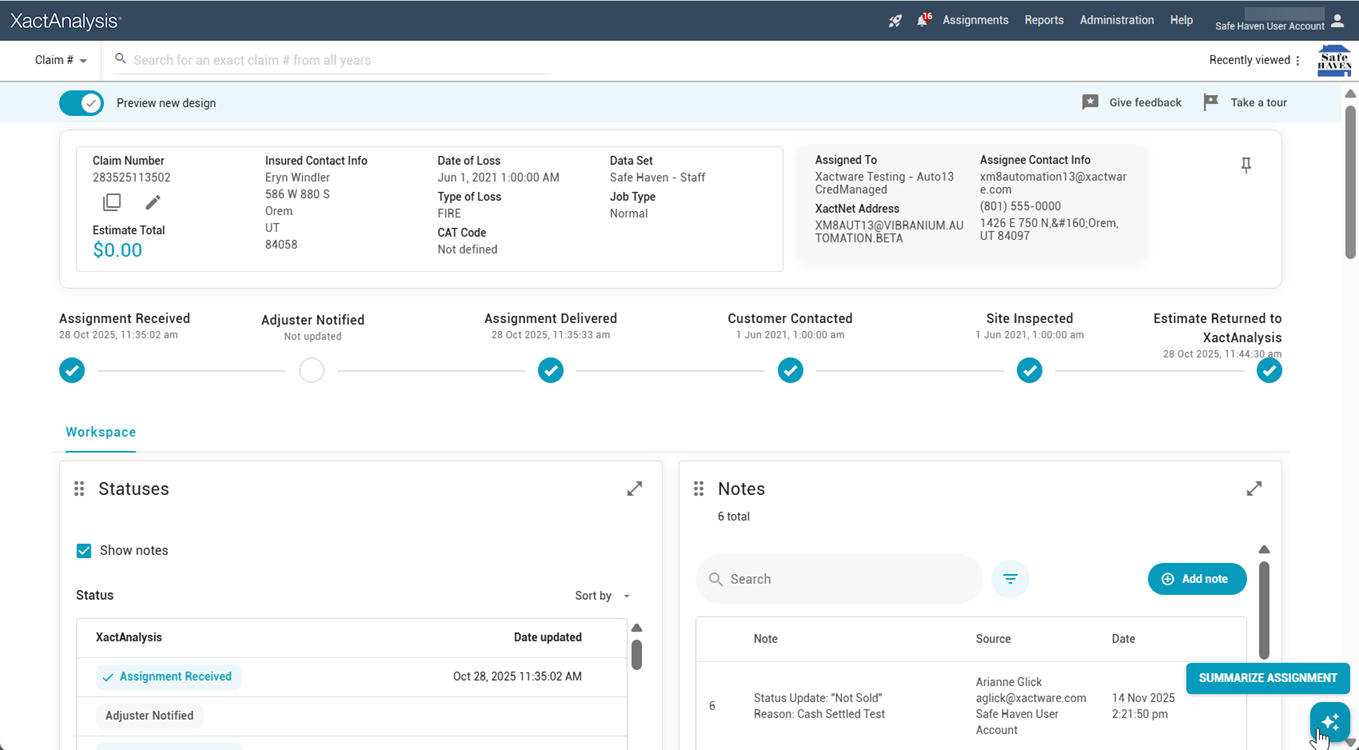
Assignment Summary
Assignment Summary is an exciting new feature that provides a quick overview of the assignment. It includes an AI-generated summary of the assignment’s notes and loss instructions, along with key claim information, coverages, and the top line items by cost.
To view the assignment summary, select the Summarize Assignment icon.
Expand a section
Some sections where users spend the most time can be expanded so you can see more detail at once. Click the Expand  icon to see the information in a larger view.
Widgets
We’re converting tabs from the old Assignment Detail into widgets. So far, the new Assignment Detail preview includes widgets for Statuses, Notes, Photos, and Documents. You can resize and rearrange widgets to customize the new Assignment Detail page.
To move a widget, select the Move icon in the widget’s upper-left corner and drag the widget to its new location.
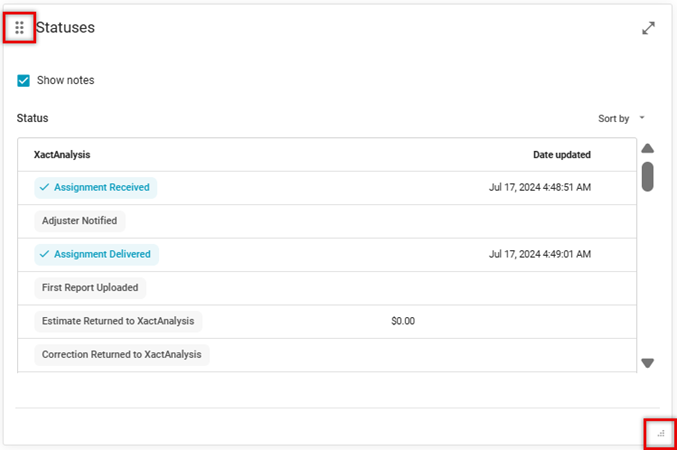
To resize a widget, select the Resize icon in the widget’s lower-right corner and drag until the widget reaches the desired size.
Statuses
Statuses mark an assignment’s progress and provide benchmarks you can use in assignment searches, personal and program rule notifications, and management and activity reporting. To learn more about specific statuses, see Statuses.
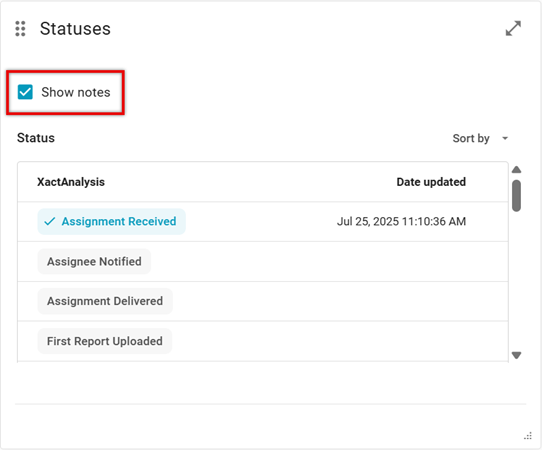
Show notes
You can choose to show or hide notes on statuses by selecting or clearing the Show notes checkbox on the Statuses widget.
Sort statuses
Click the Sort by dropdown menu to sort the statuses by Default, Most recent, and Not updated.
Update a status
Click the Edit icon in the row of the status you want to update. From here, the process is the same as it was in the previous Assignment Detail design.
Notes
Notes are the running record of what is happening on the assignment. You can add them individually or as part of another action, like changing the Status or completing an Action Item.
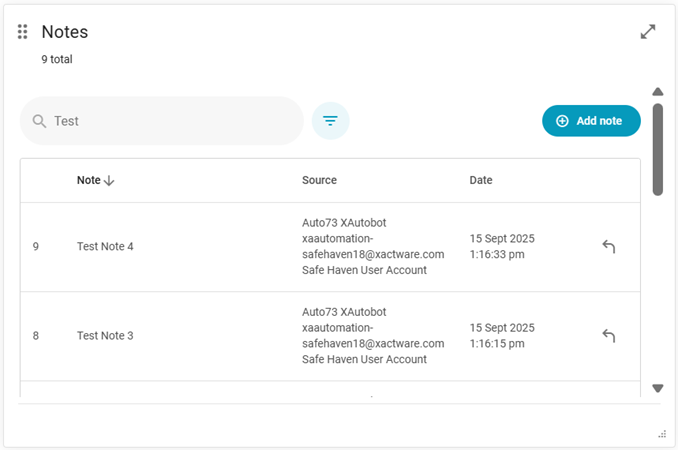
Search notes
Using the search bar in the Notes widget, you can search your notes by their content or by the person who added them.
Filter notes
To filter notes, click the Filter icon next to the search bar. There are three filter options: All, User notes, and System notes.
Add a note
XactAnalysis also automatically adds system notes as certain assignment events occur, such as status updates or action item events.
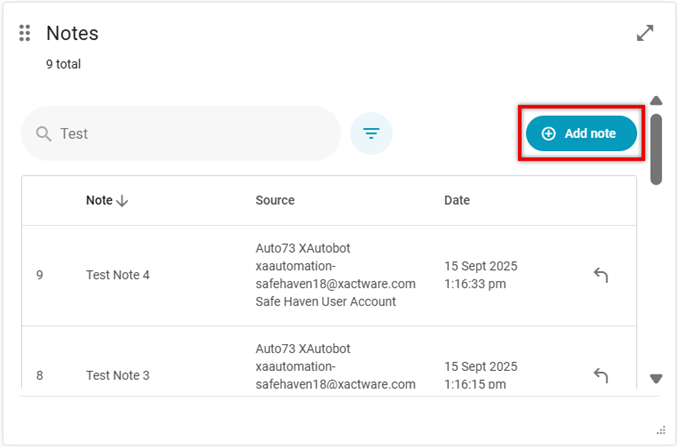
To add a note:
- Click Add note in the Notes widget.
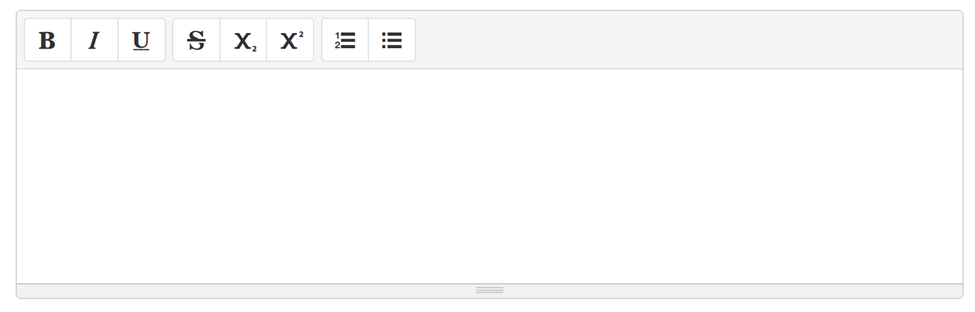
- Enter your comment in the Note field and format as necessary.
- The rich text editor allows you to bold, italicize, underline, strikethrough, subscript, superscript, number, or bullet your message.
- The rich text editor allows you to bold, italicize, underline, strikethrough, subscript, superscript, number, or bullet your message.
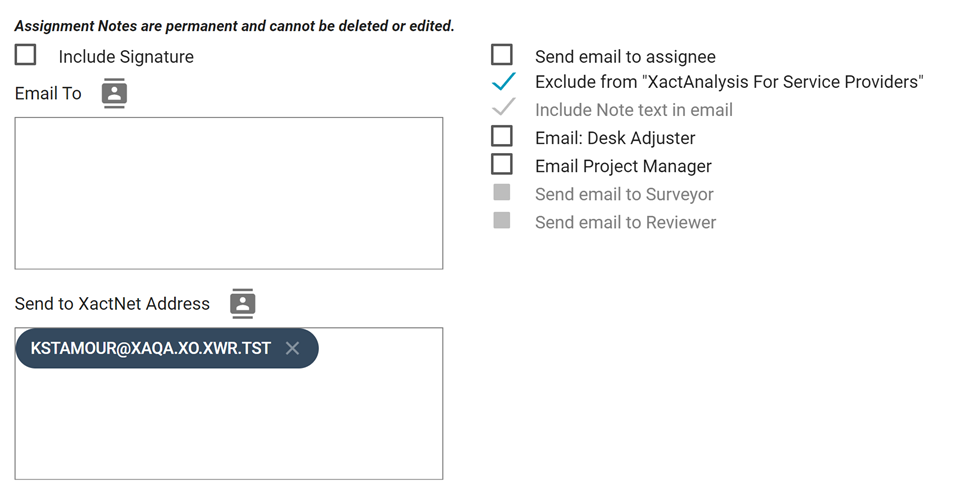
- Optional: Select the Include Signature checkbox to add a custom signature to the message.
- The rich text editor allows you to bold, italicize, underline, strikethrough, subscript, superscript, number, or bullet your message.
- Click Add Logo to insert the company logo set in XactAnalysis.
- If you select Save Signature, your signature is saved and appears automatically when you add another note and select Include Signature.
- Optional: you can send your note to other people using different methods.
- Email: enter email addresses separated by a comma or select them from your Personal Address Book by clicking the Address Book
 button next to “Email To.”
 - XactNet Address:
- The note is sent to the user in Xactimate/XactAnalysis.
- The assignee’s XactNet address is automatically added here so that you don’t need to add them.
- Select other XactNet addresses by entering a semicolon-separated list or by clicking the Address Book
 button next to “Send to XactNet Address”.
- Role: Select the checkbox for the roles that you want to send the assignment to. Possible roles include:
- Assignee
- Desk Adjuster
- Project Manager
- Surveyor
- Reviewer
- Email: enter email addresses separated by a comma or select them from your Personal Address Book by clicking the Address Book
Reply to a note
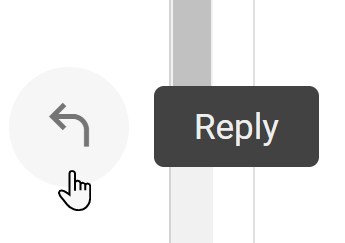
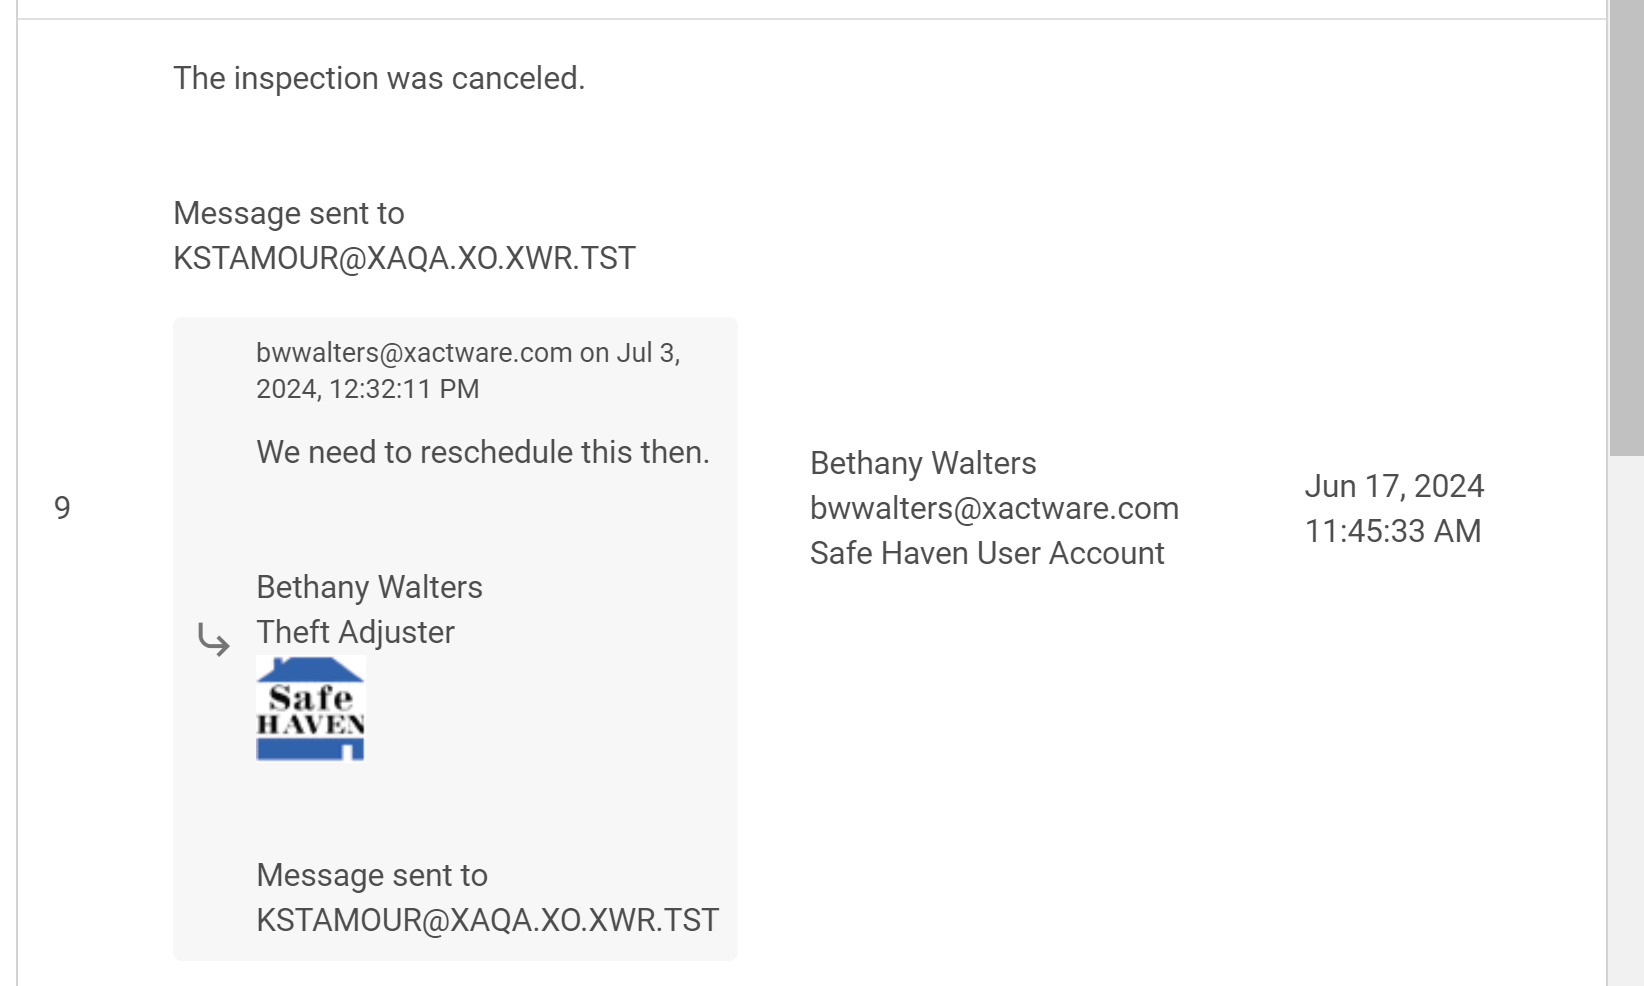
You can reply to a note by clicking the Reply button on the note.
This will open a similar window to the Add note window. Once you have sent your reply, it will appear on the same line as the note you replied to.
Documents
In the Documents widget, you can view and add documents, change their status, exclude them from XactAnalysis SP, and send them to Xactimate or ClaimXperience.
Add documents
You can add a document by dragging the file to the center of the Documents widget.
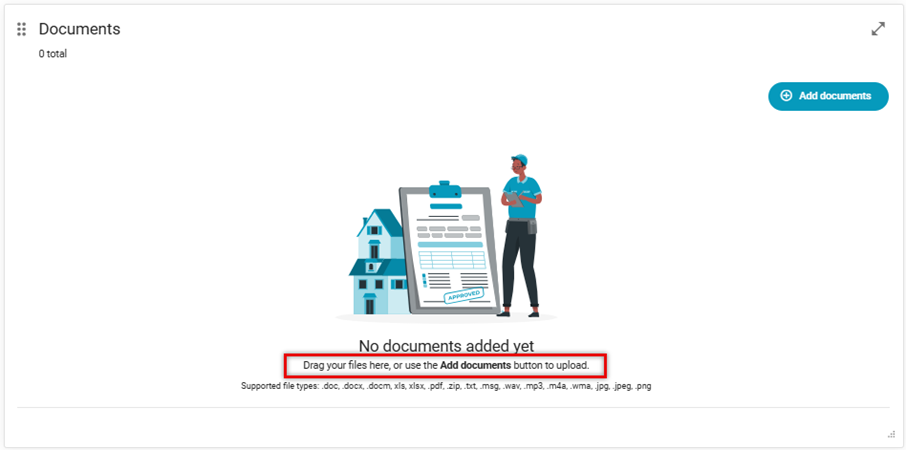
Alternatively, click the Add documents button to add a new document to the assignment. From here, the process is the same as it was in the previous Assignment Detail design.
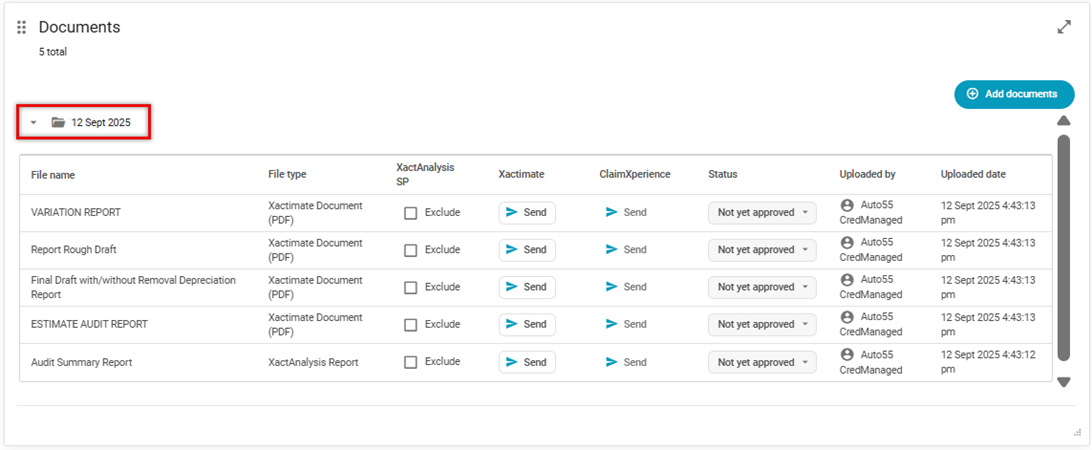
Approve or reject documents
You can approve or reject documents without having to open them. Simply open a document’s Status menu and select either Approved or Rejected.
If a document has not been approved or rejected, its status will show as Not yet approved.
Share documents
You can share or exclude documents with other applications within each document’s row. To send a document to Xactimate or ClaimXperience, click the Send button in the Xactimate or ClaimXperience column, respectively.
Selecting the Exclude checkbox in the XactAnalysis SP column hides the document from any contractors or adjusters who only have access to XactAnalysis SP.
Expand or collapse the date folders
Documents are sorted into folders according to their upload date. You can expand or collapse each date folder by clicking the triangle next to the folder.
Photos
The Photos widget displays thumbnails of any digital images associated with the assignment.
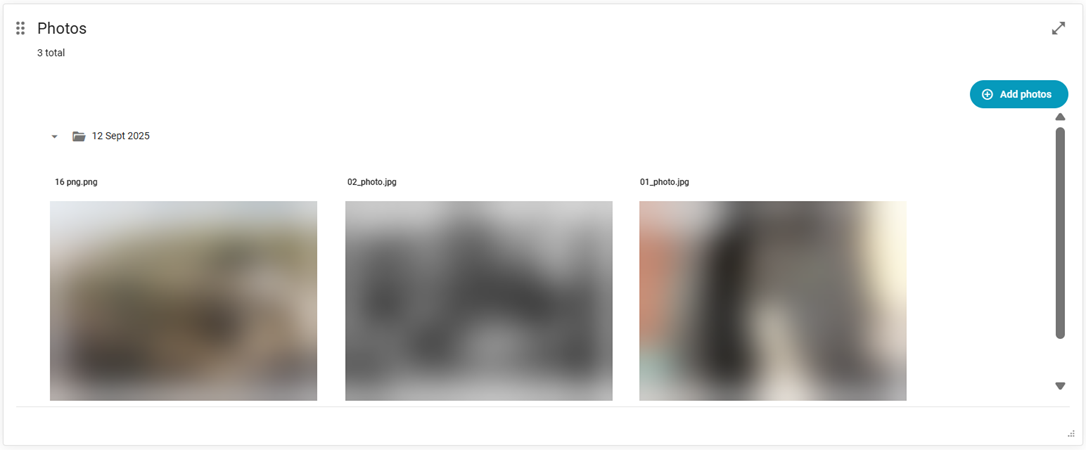
Share photos
When you hover over a photo’s thumbnail, you can access a menu with the following options: Send to Xactimate, Send to ClaimXperience, Exclude from XactAnalysis SP, Download, and Print.
Add photos
You can add a photo by dragging the file to the center of the Photos widget.
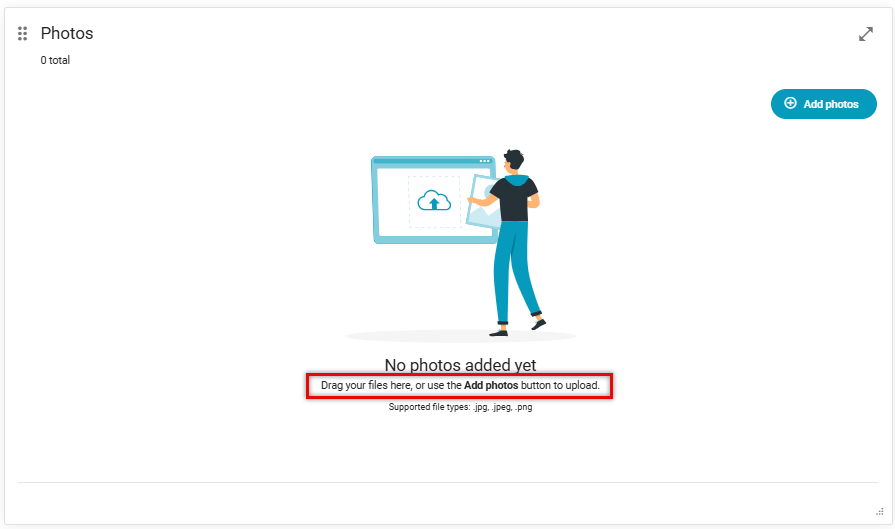
Alternatively, click the Add photos button to add a new photo to the assignment. From here, the process is the same as it was in the previous Assignment Detail design.