User Administration
 Updated
by
Arianne G.
Updated
by
Arianne G.
As an administrator, you can add, edit, and delete users. You can also set up user roles groups to which you can assign rights and users.
The screenshots in this document are generic, and your company’s interface may vary.
Related: Automation, FAQ > User Administration questions, Xactware ID Help, Manage Accounts, User Information, Organization Hierarchy
Access User Administration
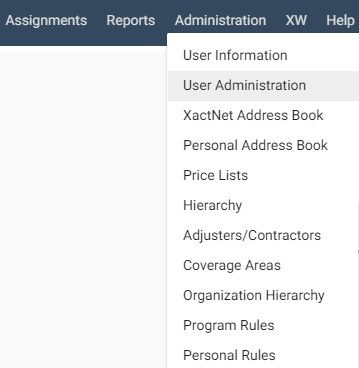
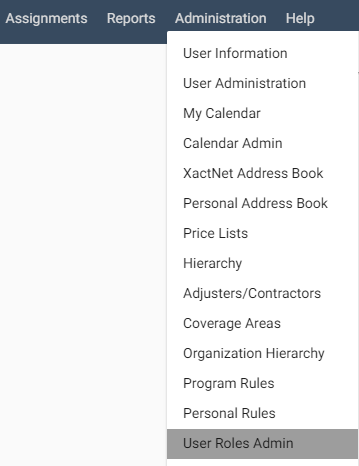
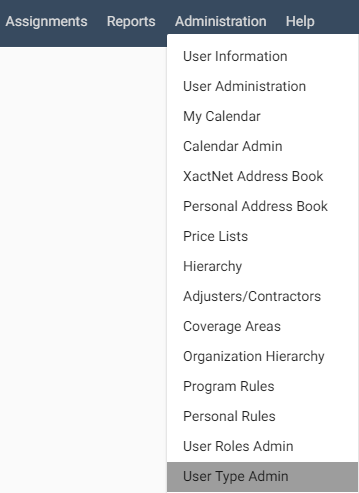
Select User Administration from the Administration menu.
Filter Users
Use the filters at the top of the page to search for specific users. You can filter by multiple parameters, including User ID, location, user type, and user role.
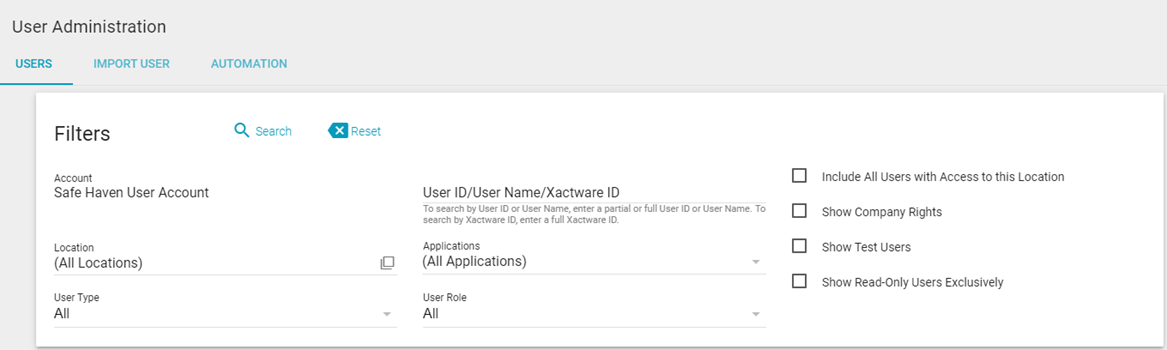
Once you've selected your filters, click Search.
Add users
- Select an account (if applicable) for the new user, and click Add a New User.
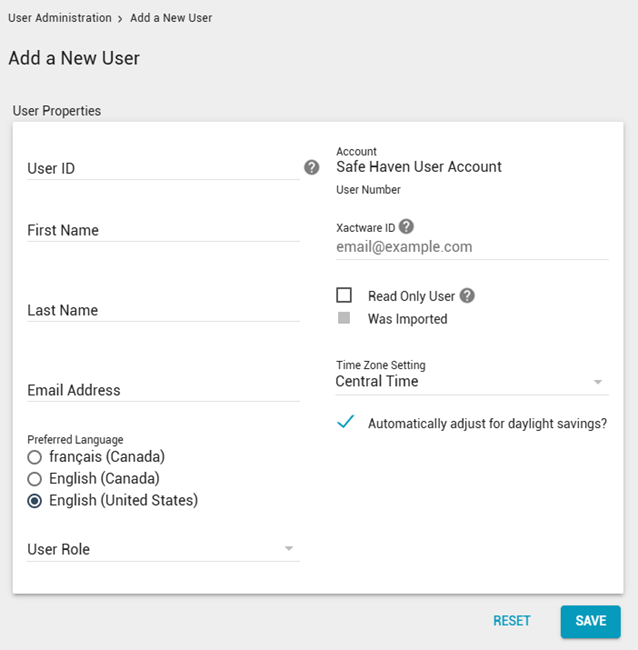
- Enter the user’s information in the available fields.
User ID
The User ID must be unique across all XactAnalysis® users. You may consider using a company-assigned user number or the company initials followed by the employee initials.
Xactware ID
The Xactware ID must be an email address (preferably the user's primary email address) and must be unique across all XactAnalysis users. If you enter an Xactware ID that matches the new user's existing Xactware ID, when you click Save the user receives an email instructing them to link their Xactware ID to the new account. The email includes a link to the XactAnalysis login page. For more information about linking users, see Xactware ID.
If you enter an Xactware ID, but the new user does not already have an Xactware ID, when you click Save the user receives an email that instructs them to set up an Xactware ID. The email includes a link to the Create an Xactware ID page.
Read Only User
When you select this check box, the user is only able to read assignment data and can't edit or contribute.
- Click Save.
- The Edit User page appears. If necessary, edit user information in the User Properties and Contact Info sections.
- In the User Type section, select the appropriate user type (if applicable), and click Apply.
- In the User Role section, select the appropriate user role (if applicable), and click Apply.
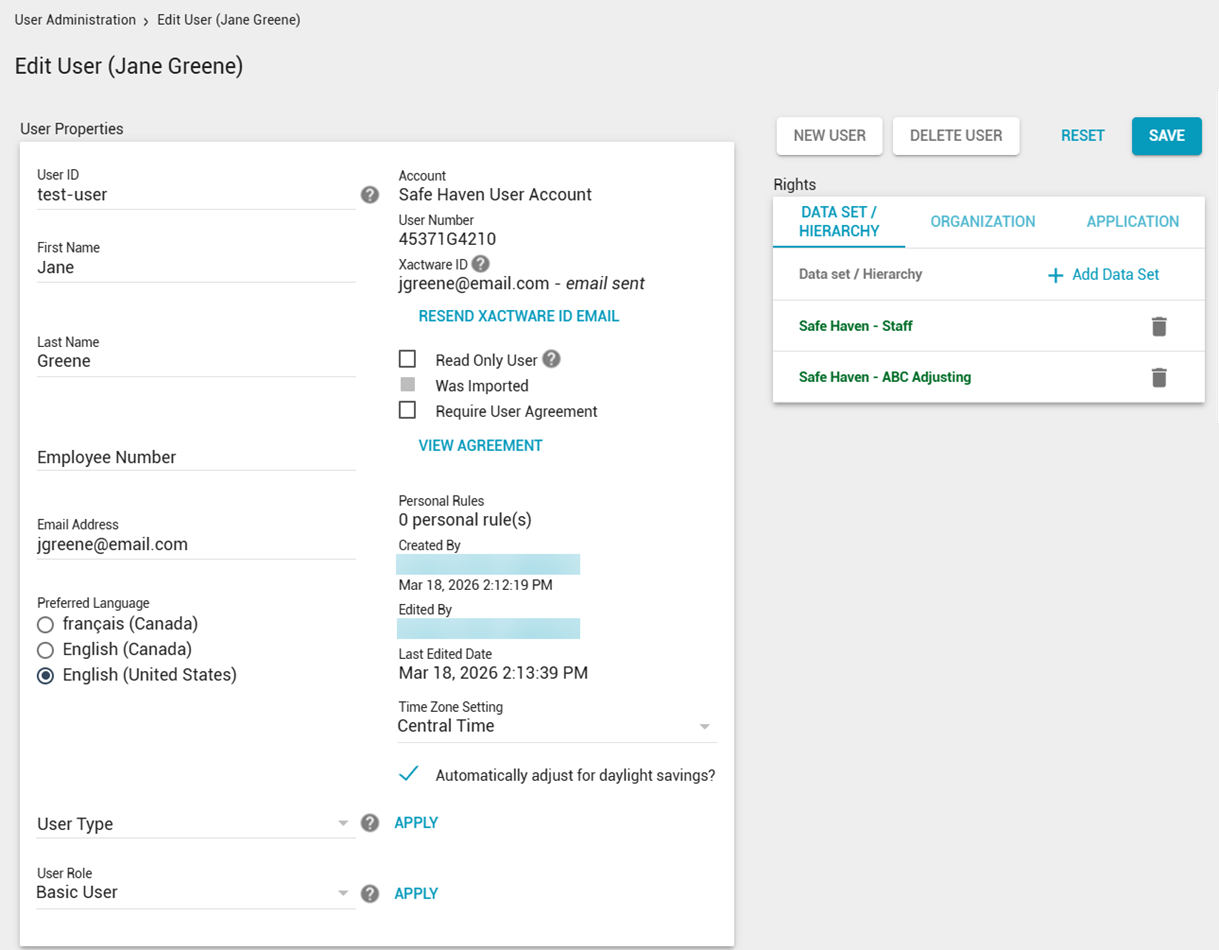
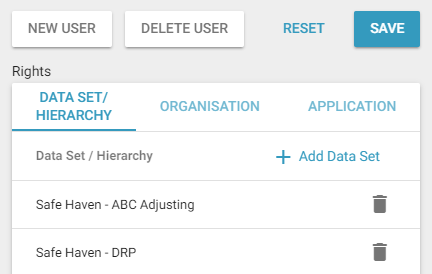
- Click the Data Set / Hierarchy tab. This tab allows you to select which data sets the user can access. Click Add and select a data set from the menu that appears. After selecting a data set, additional menus appear for subsets of the data set. Each subset you select limits the user to rights for that subset. When you are done, click the checkmark icon next to the menus, then click Save at the top of the page.
- Click the Organization tab. This tab allows you to select rights for the user based on your organization's hierarchy. The process for adding organization rights is similar to the process for adding data set / hierarchy rights. See the previous step for instructions.
- Click the Application tab. This tab allows you to select the appropriate application rights for the user.
- Click the Company-Specific tab. This tab allows you to assign rights to the user for only specific data sets.
- Click Add Company-Specific Right. Two menus appear.
- Select a right from the first menu.
- Select a data set from the second menu. You can also select All to select all data sets.
- Click the Save icon. The user is now granted the selected right, but only for the selected data set.
- If your company has any generic dashboards, custom dashboards, or performance scorecard dashboards enabled, click the Management Dashboards tab. This tab allows you to grant custom reports rights or performance scorecard threshold rights as well as select which dashboards the user can access. After users are granted access, they can select the dashboards from the Reports menu. For more information, see Management Dashboards.
- Click Save.
Edit users
You can edit one user or multiple users simultaneously.
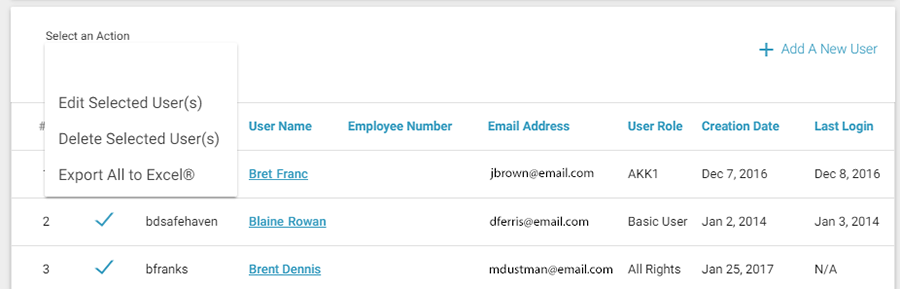
- In User Administration, select the check boxes next to the users you want to edit.
- Select Edit Selected User(s) from the Select an Action menu.
- If you selected one user to edit, follow the instructions in steps 5–13 of the Add Users section. In addition to adding and deleting rights, you may make changes in the User Properties and Contact Info areas of User Administration.
Or
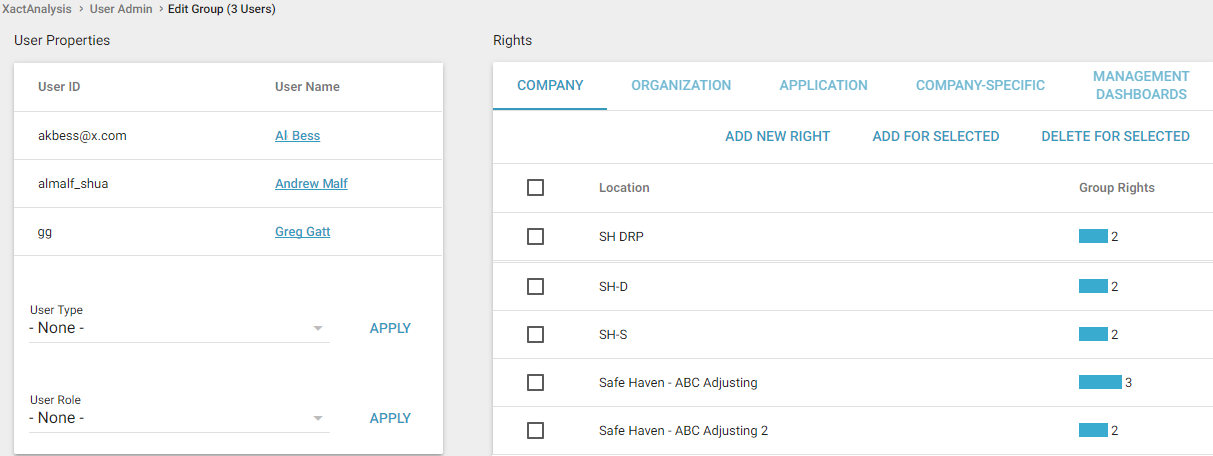
If you selected multiple users to edit, the Edit Group page appears. The User Group table shows the name and user ID for all the users you selected to edit. You also see the number of selected users with each right.
- To add rights for all the selected users, select the check boxes of the rights you would like to add and click Add for selected. A confirmation dialog box appears. Click OK.
- To delete rights for all the selected users, select the check boxes of the rights you would like to delete, and click Delete for selected. A confirmation dialog box appears. Click OK.
- To add a user role for the selected users, select a user role from the User Role menu and click Apply.
- To add a user type for the selected users, select a user type from the User Type menu and click Apply.
Delete users
- Select the check boxes for the users you want to delete.
- Select Delete Selected User(s) from the Select an Action menu.
- Click OK in the confirmation dialog box that appears.

You can also delete individual users by clicking Delete User at the top of their Edit User page.
User Roles Admin
Many companies have groups of users that require similar application rights. In User Roles Admin you can define a set of Application Rights that can be easily applied to multiple users in User Administration. If you already have user roles set up, see the Add Users section or the Edit Users section for information about applying user roles.
Access User Roles Admin and set up user roles
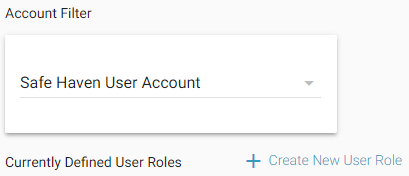
- Select User Roles Admin from the Administration menu.
- On the User Roles Admin page, click Create New User Role.
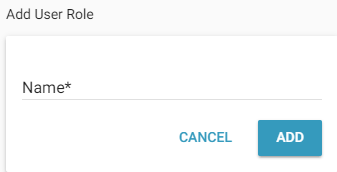
- Enter a name for the new user role and click Add.
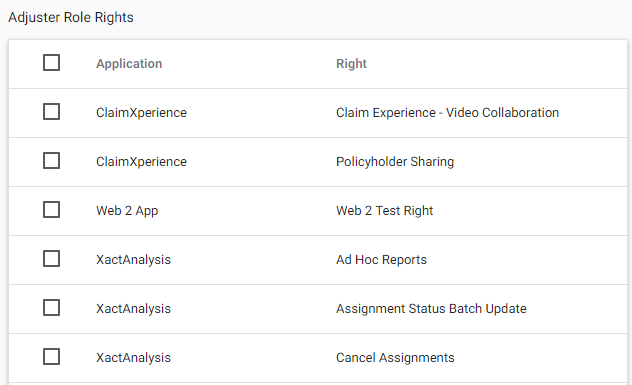
- The user role appears under the Currently Defined User Roles header. Select Role Rights to assign the appropriate rights to this role.

- Select the check boxes for the appropriate application rights. Click Save.
Return to User Administration to apply the user role. See the Add users section for information about applying user roles.
User Type Admin
Companies that need more extensive management of user groups may use User Type Admin. In User Type Admin you can define specific groups of data set and hierarchy rights, user roles, and company-specific rights. You can then apply these user types to individual users in User Administration. Any changes made to the user type will update any users associated with the user type. If you already have user types set up, see Add Users for information about applying user types.
Access User Type Admin and set up user types
- Select User Type Admin from the Administration menu.
- On the User Type Admin page, click New.
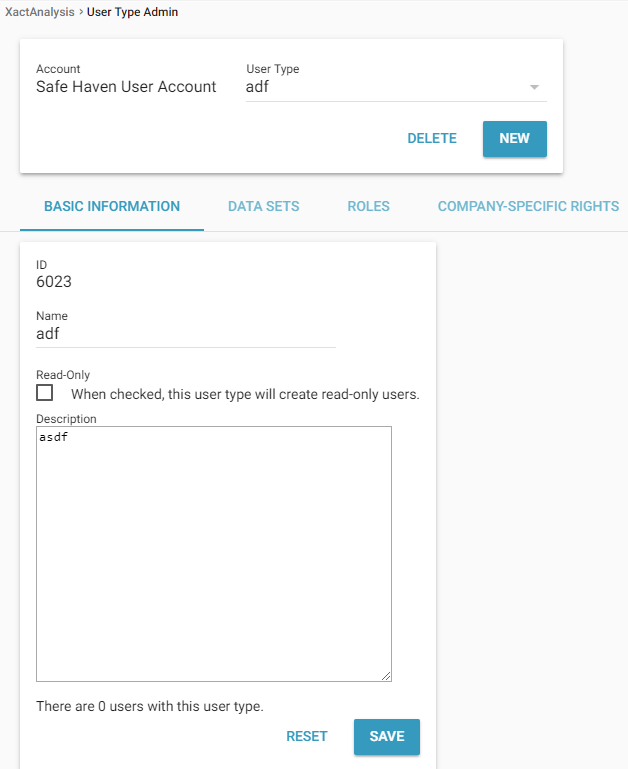
- On the Basic Information tab, type the user type name in the Name field. Select the Read-Only check box if you want all users associated with this user type to be read-only users. If needed, type additional information in the Description field.
- Click Save. The user type appears in the User Type menu. The user type still needs to be connected to data sets, user roles, and company-specific rights. The following steps describe this process.
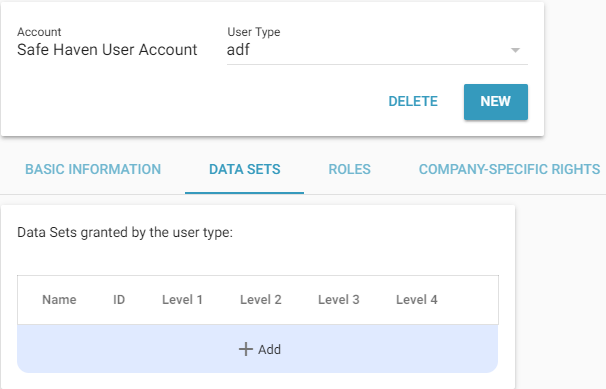
- To associate the user type with a specific data set or all data sets, select the Data Sets tab. Click Add.
- Select the appropriate data set from the data set menu. If necessary, select the appropriate hierarchy levels from the Levels menus. Click the Save icon. You may associate a user type with multiple data sets and hierarchy levels.
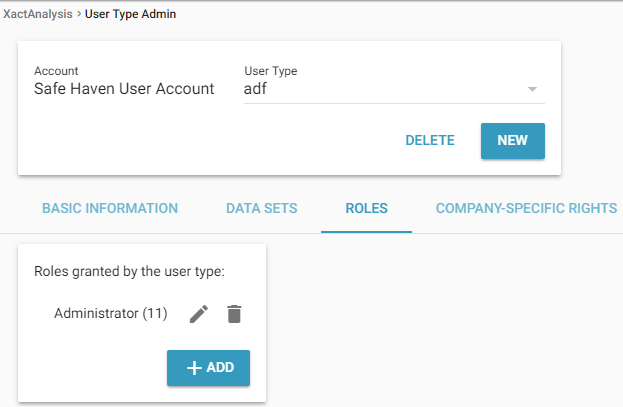
- To associate a user type with a specific user role, select the Roles tab. Click Add.
- Previously set up user roles appear in a menu. For information about setting up user roles, see User Roles Admin. Select the appropriate user role from the User Role menu. Click Save. You may associate a user type with multiple user roles. To add, remove, or edit available user roles, click Manage Roles.
- To associate a user type with company-specific rights, select the Company-Specific Rights tab. Click Add.
- Select the appropriate application, right, and name from the available menus. If necessary, select the appropriate hierarchy level from the Levels menus. Click the Save icon. You may associate a user type with multiple company-specific rights.
- Go to User Administration to apply the user type. See the Add users section for information about applying user types.
Edit user types
Select the user type from the User Type menu. Edit the tabs using the previous steps.
Delete user types
Select the User Type from the User Type menu. Click Delete. A confirmation dialog box appears. Click OK.