Hierarchy
Hierarchy allows you to set up your company’s geographical structure in XactAnalysis®. This must be set up before any other administrative module. When your geographic hierarchy is in place, users with hierarchy rights can edit geographic hierarchy levels, including postal code areas, for your company.
Geographic hierarchy is based on zip/postal code areas, and typically drills down to state or province, region, county, and postal code. It’s important to keep your company’s geographic hierarchy updated with new postal codes so XactAnalysis can send the correct price list with assignments in the new postal codes, and contractors assigned to a particular data set may have rights to all the existing zip/postal codes in their assigned area(s). Zip/postal codes are not automatically updated by XactAnalysis. To assign adjusters or contractors rights to receive assignments in these hierarchy levels, go to Adjusters/Contractors.
Your company may define up to seven geographic hierarchy levels in XactAnalysis. The highest level—named Regions in this example—may consist of several groups of states or provinces, and the lowest level—named Program Locations in this example—drills down to specific zip/postal codes.
The screen shots in this document are generic, and your company’s interface may vary.
Related: Organization Hierarchy, Adjusters/Contractors, FAQ > Administration Questions
Access Hierarchy
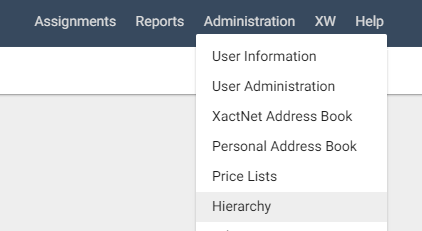
- Select Hierarchy from the Administration menu.
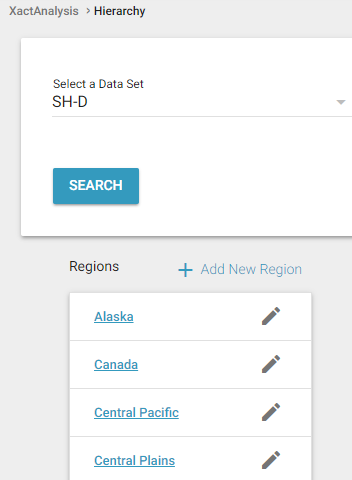
The Regions page appears. By selecting a region, you can drill down through the levels of your company’s hierarchy. At the bottom level, you will see the Zip/Postal Code page. The levels of hierarchy are shown on the left-hand side of the page. You may select them to go back.
Add a component to a hierarchy level
- Click Add New Region.
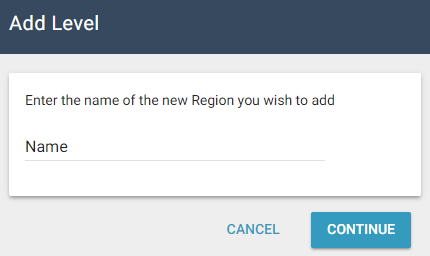
- Enter the name of your new region and click Continue.
- In the dialog box that appears, click Add. You are notified that the region was added successfully.
- Click Close. The new region appears in the Regions page.
- You may need to refresh the page to see the new region.
- To rename a hierarchy component, click Edit next to the component you want to rename.
- To remove a hierarchy component, contact your product specialist or account manager.
Add a component to the lowest hierarchy level
The lowest level of a hierarchy needs to be linked to a single state, province, or other defined geographic area. After you create it, link it with zip/postal codes to indicate where adjusters or contractors in this program location work.
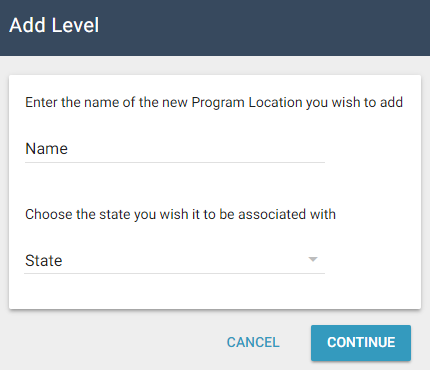
- Select Add New Program Location. The Add New Program Location dialog box appears.
- Enter the Name of the new Program Location and select the State or Province you want to associate with it.
- In the dialog box that appears, verify the information and click Add.
- You are notified that the program location was added successfully. Click Close. The new program location appears in the program locations page.
- To rename a hierarchy component, click Edit next to the component you want to rename.
- To remove a hierarchy component, contact your product specialist or account manager.
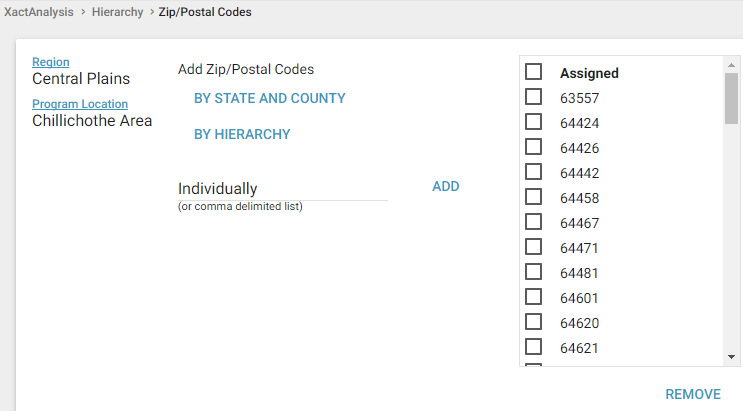
Add or remove zip/postal codes
You may add or remove zip/postal codes by Price List Area (if available), State and County, and Hierarchy level. If you are adding a new zip/postal code that is not already in XactAnalysis, type the new zip/postal code in the Individually box and select Add.
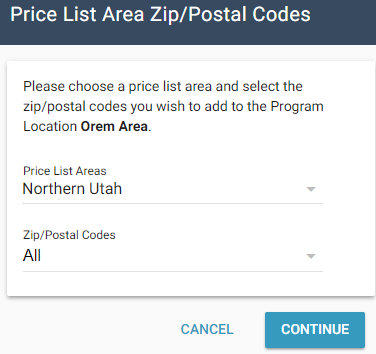
Add zip/postal codes by Price List Area
- On the Zip/Postal Codes page, click By Price List Area.
- In the dialog box that appears, select a price list from the Price List Areas menu.
- Select the zip/postal codes you would like to add.
- Click Continue.
- In the dialog box that appears, click Add. The new zip/postal codes appear on the Zip/Postal Codes page.
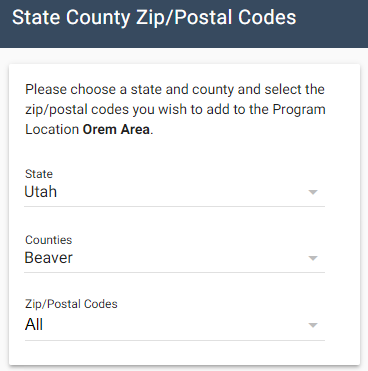
Add zip/postal codes by State and County
- On the Zip/Postal Codes page, click By State and County.
- In the dialog box that appears, select a state and a county from the drop-down menus.
- Select the zip/postal codes you would like to add.
- Click Continue.
- In the dialog box that appears, click Add. The new zip/postal codes appear on the Zip/Postal Codes page.
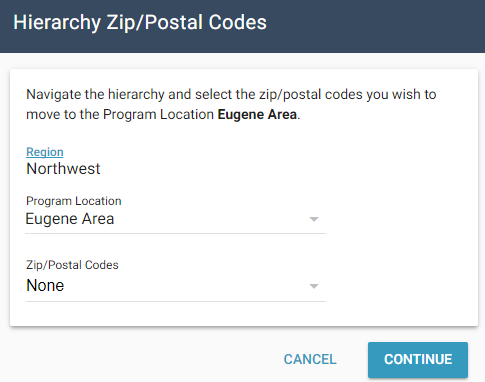
Add zip/postal codes by Hierarchy
- On the Zip/Postal Codes page, click By Hierarchy.
- In the dialog box that appears, select a program location from the Program Location drop-down menu.
- Select the zip/postal codes you would like to add.
- Click Continue.
- In the dialog box that appears, click Add. The new zip/postal codes appear on the Zip/Postal Codes page.